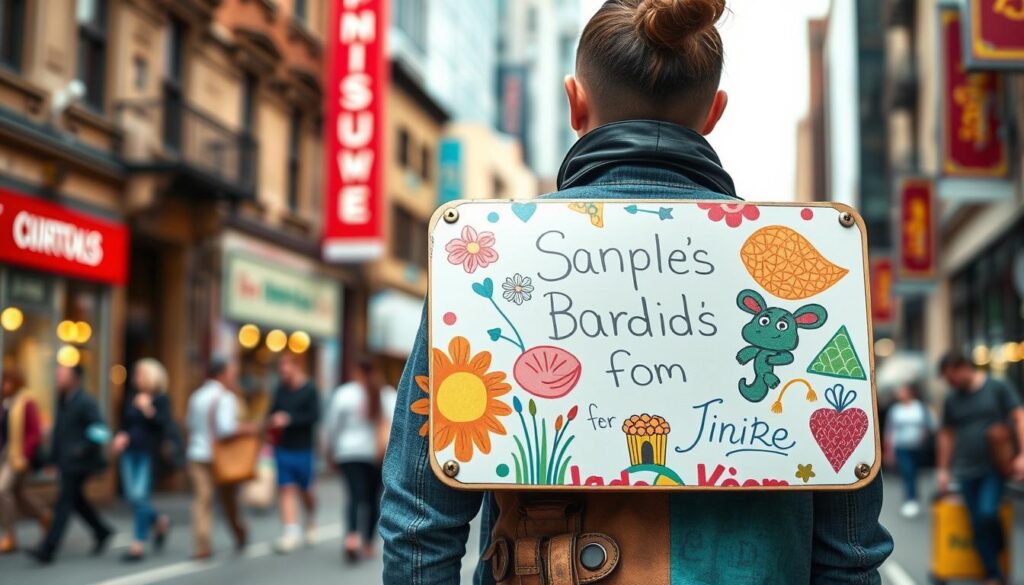
Want to make a unique and eye-catching sign to wear? A DIY sandwich board is perfect! It’s a fun way to promote your business or event. We’ll show you how to make one, from start to finish.

Key Takeaways
- Wearable sandwich boards are a unique and attention-grabbing form of advertising
- DIY sandwich boards can be customized to suit your specific needs and branding
- The process involves measuring, cutting, and assembling particle boards with hardware components
- Comfort and visibility are essential considerations when designing a wearable sign
- This DIY project can serve a group of 10-12 people with a variety of sandwich options
Understanding Sandwich Boards and Their Marketing Impact
Sandwich boards are great for marketing. They’re used for yard sales, store promotions, and more. They’re affordable for small businesses to draw in customers and boost visibility.
Wearable sandwich boards are especially good. They let businesses move around and reach more people. This makes them a top pick for engaging with passersby.
Benefits of Wearable Advertising
Wearable sandwich boards have big pluses. They let businesses go where the action is. This means more people see them, which can lead to more sales.
Seeing someone with a cool sandwich board grabs attention. It makes people curious about the brand. This helps spread the word and gets people talking.
Types of Portable Signage
There’s more than just wearable boards. A-frames and hand-held signs are also great. Each has its own perks and can fit a business’s needs.
Cost-Effectiveness for Small Businesses
Portable signs like sandwich boards are budget-friendly. They’re cheaper than print or digital ads. They bring in customers and sales without costing a lot.
This makes them perfect for small businesses. They help stretch the marketing budget while still getting the word out.
“A well-designed sandwich board sign can speak volumes about a business, promoting daily specials, grand openings, or enhancing brand visibility.”
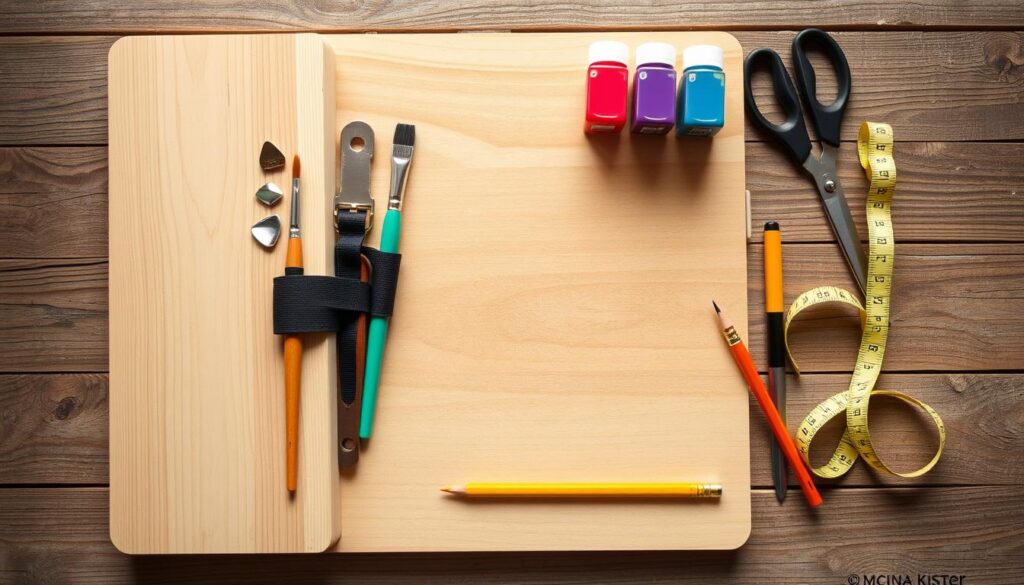
Essential Materials and Tools Needed
To make your own DIY sandwich boards or portable signboards, you need a few key items. Start with two sheets of strong particle board or medium-density fiberboard (MDF). These should be about 2-1/2’x2′ or 3’x1-1/2′. MDF is better for weather resistance than regular particle board.
You’ll also need hinges to join the boards, a chain for stability, and screws to hold everything in place. A handle is important for easy carrying. Don’t forget a screwdriver for putting it all together. For a personal touch, use paint, brushes, and varnish or sealant.
The board thickness depends on your local wind. Thicker boards handle stronger winds better. Make sure to add a handle for safe and easy transport of your sandwich boards or pedestrian signboards.
With these basic materials and tools, you’re ready to create your own DIY sandwich boards or pedestrian signboards. They’ll help draw attention to your business or event.
How to Make a Sandwich Board to Wear
Turn yourself into a walking advertisement with this easy guide. Create your own custom sandwich board. It’s a fun DIY project to show off your brand or creative design.
Measuring and Cutting the Boards
Start by measuring the size you need. Choose MDF over wood for better weather resistance. Sizes range from 2-1/2’x2′ to 3’x1-1/2′. Cut the boards to size using a saw.
Installing Hardware Components
Now, add the hardware. Drill holes to attach hinges for a secure connection. Put chains inside for stability. Include a handle for easy carrying.
Adding Comfort Features for Wearing
Add padding or straps for comfort. Use foam or fabric on the inside or make shoulder straps. Think about weight and visibility when designing.
Follow these steps to become a unique walking advertisement board or human billboard. You’ll grab attention and promote your message or brand.
Design Considerations and Customization
Design is key when making hand-held signs or wearable ads. Start with a clean white base coat. This lets you play with acrylic paints for borders and designs.
Adding Plexiglas can change the game. It lets you use dry erase markers for quick updates. Make sure to paint both sides for maximum visibility.
Customize your design for your needs. Use creative colors, fonts, and images. This makes your signs stand out.
“Over 30 years, Grafics Unlimited in Sparks, Nevada, has specialized in creating exceptional, custom-made sandwich board signs for businesses, emphasizing the importance of tailored and eye-catching designs.”
Sandwich board signs are great for small businesses. They’re effective, flexible, and affordable. Good design turns them into powerful marketing tools.
When designing, use bold images and text. Bright colors and strong contrasts help. Include your logo for brand recognition.
Assembly and Construction Steps
Making your own DIY display sandwich with board signs is a fun project. It lets you show off your creativity and style. Let’s go through the steps to build your custom sandwich board.
Board Preparation Process
Start by sanding and cleaning your plywood or sturdy board. This makes it ready for your design. You can pick from 1/2 inch, 3/4 inch, or 1 inch plywood. 3/4 inch is a good choice because it’s versatile.
Hardware Installation Guide
Now, it’s time to add the hardware. You’ll need hinges for the sign faces and chains or ropes for stability. You also need a handle for easy carrying. Decide if you want to attach the hinges and hardware before or after painting.
Final Assembly Instructions
- Attach the hinges at the top of the sign faces for smooth opening and closing.
- Put in the chains or ropes to keep the board stable and prevent it from swinging too much.
- Add a sturdy handle, like an eye screw or a dedicated handle, for easy carrying.
- Check all connections and test the board’s stability. Make any needed adjustments for a secure and comfortable wear.
By following these steps, you’ll make a unique DIY sandwich board. It’s not just a tool for advertising. It also shows off your personal style.
Painting and Finishing Techniques
To make your sandwich board sign look professional, focus on painting and finishing. Start with a base coat of white or chalk paint. This gives you a clean base for your design.
Next, use bright acrylic paints for graphics, logos, or borders. These will make your sign pop.
For outdoor use, apply a weatherproof sealant or varnish. This protects your sign from the weather. Always let each coat dry fully for a smooth finish.
For a sign that can be changed easily, attach a clear Plexiglas panel. Use dry-erase markers to update your message. Make sure to paint both sides for maximum visibility.
FAQ
What materials are needed to make a wearable sandwich board?
You’ll need two 2’x4′ sheets of particle board, 3/8-1/2″ thick. Also, chains, hinges, and screws are essential. For extra flair, you can use paint, brushes, and varnish.
How do I measure and cut the boards for the sandwich board?
Start by measuring and cutting the boards to 2-1/2’x2′ or 3’x1-1/2′. Think about the wind in your area when choosing the board thickness.
What hardware components are needed to assemble the sandwich board?
First, attach hinges by lining up the tops and drilling for screws. Then, put chains inside for stability. Don’t forget to add a handle for safe carrying.
How do I ensure comfort and visibility when wearing the sandwich board?
Add padding or straps for comfort. Make sure the board is balanced and easy to see when you’re wearing it.
What are some design and customization options for the sandwich board?
Start with a white or chalk paint base coat. Use acrylic paints for designs. You can also add a Plexiglas sheet for dry erase markers.
How do I assemble the sandwich board?
Sand and clean the boards first. Then, install the hardware, either before or after painting. Attach hinges at the top and ensure they’re aligned.
Put chains inside for stability and a handle for easy carrying. Check all connections and test the board’s stability before using it.
How do I paint and finish the sandwich board?
Begin with a base coat of white or chalk paint. Use acrylic paints for designs and borders. For outdoor use, consider varnish or sealant.
Make sure to let each coat dry fully before adding more.